 Simon Date
On This Page
Font Awesome is a font and icon toolkit used to add icons to a web project. It's used on hundreds of thousands of sites. It's even the icon pack of choice for the Adapt Authoring Tool
Some clients may be interested in an Adapt theme that uses these icons, rather than the default ones. This guide will walk you through how to set up Font Awesome in a Framework theme.
How to do it
Download the Font Awesome source. Once downloaded unzip the folder.
First, go into the webfonts folder and copy all the fonts into your theme's font folder.

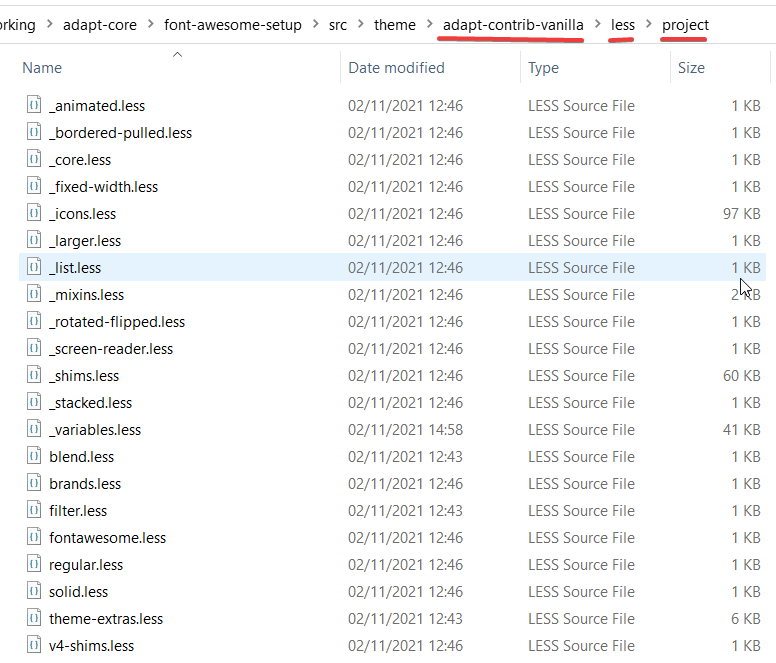
Next go copy the files inside the Less folder. Paste them into the less/project folder.
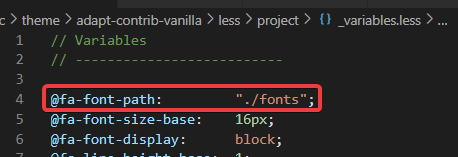
Go inside the _variables.less file that you just added and attribute assigned to fa-font-path to ./fonts.
Font Awesome should be all set up. Now you'll need to change the LESS for each instance that you want to use it.
.notify {
  &__icon {
    .fa-icon;
    .fas;
    &:before {
      content: @fa-var-user;
    }
  }
In the example above we're replacing the feedback icon used in Notify (the full-screen popup, mainly used for question feedback). Here we use the .fa-icon mixin to establish it as a Font Awesome icon then .fas to set its thickness.
Finally, you'll need the name of the icon, which you can find here and then add it within &:before as shown above.